CHEVROLET EQUINOX Wheel Bearing and Hub Assemblies - 2016 chevy equinox wheel bearing
Now that the new bearing is installed, the brake rotor and caliper can be placed back onto the vehicle using a ratchet and the appropriate sockets that were used to remove them.
Place the new bearing into the back of the rotor and apply grease to the inside bearing cavity. Install a new bearing seal over the new larger bearing and slide the rotor back on to the spindle. (A rubber mallet can be used to tap the bearing seal into place, if needed).
To do this, use your ratchet and ⅜ -socket set to unbolt the disc brake caliper and bracket from the spindle. Use a screwdriver to remove the caliper itself.
Keep updated for new releases and freebies.Enter your e-mail and subscribe to our newsletter.
Replace the wheel and tighten the lug nuts by hand. Support the vehicle with a floor jack and remove the safety jack stands. Slowly lower the vehicle until its tires just touch the ground (similar to how you would when changing a flat tire).
Replace the retaining nut on the spindle and grab the rotor with both hands. Proceed to pull the rotor off the spindle, allowing the larger inner bearing to get caught on the retaining nut. Then, release the bearing and grease seal from the rotor.
If the wheel bearings are housed inside your disc brake rotor, which is common to see in trucks, you will need to pry off the central dust cap to expose the cotter pin and retaining nut.

For more information about the short code 23088 text HELP to 23088. Did you receive a text message from 23088 and you want to unsubscribe? You can unsubscribe from these text messages for SmartEnergyWater by texting "STOP" to 23088.
To loosen your lug nuts, you will need a ½ inch ratchet with the correct size socket. Loosen the lug nuts, but do not remove them fully just yet.
The biggest tell on when it’s time to change your wheel bearings and a sign that they are starting to fail is when you hear a moaning noise coming from this area while driving.
Pro Tip: When removing the caliper, be careful not to let it dangle freely because that can damage the flexible brake line. Instead, use the wire hanger to hook it on a secure part of the undercarriage or hang the brake caliper on the suspension.
Use a floor jack and a pair of safety jack stands to lift your vehicle. This lets you safely remove the tires for your bearing replacements.
Then be sure to use a wheel chock to block the tire opposite of the wheel that you will be working on first. For example, if changing the driver’s side front bearings first, you will need to chock the passenger’s rear wheel.
Tighten the retaining nut until it is snug and turn the rotor counterclockwise at the same time. Tighten the retaining nut a ¼ turn past snug and then install a new cotter pin.
Use a torque wrench to tighten the lug nuts to manufacturer specifications. Lower the vehicle completely and remove the floor jack.
Be sure to refer to your owner's manual for information on where the proper lift points to jack up your vehicle are located.
If you encountered any problems while changing your wheel bearings, or if you are not comfortable completing this maintenance on your own, be sure to call a professional mechanic.
If your bearing is pressed into the spindle, it is recommended that you remove the spindle from the vehicle and take both the spindle and the new wheel bearing to your local repair shop. They will have the specialty tools to press out the old bearing and press in the new one.
Congratulations, you have successfully changed your vehicle’s wheel bearing. It is important to perform a test drive after changing the wheel bearings to ensure that the repair is complete.
To do this, use your pliers to remove the cotter pin and retaining nut and then slide the rotor forward to release the outer wheel bearing (smaller wheel bearing).
We’re going to share how to change your wheel bearings in a more general step-by-step process for the common wheel bearing types that are found in the majority of vehicles. However, before starting your replacement job, please consult your vehicle’s service manual to ensure you know what kind of bearings you’re working with on your specific vehicle.
You are almost there! Just a few last steps that are important to give your full attention to in order to wrap this maintenance up safely.
Don’t stress too much if your car is giving you that tell-tale sign, because it shouldn’t be a costly repair. While changing your bearings is considered a more involved job, for most it can still be done at home to avoid a trip to the mechanic. But be warned, you will need a few specialty tools to get the job done right.
In most cases, this service can be done inexpensively. Once the new bearing is pressed in, the spindle can be installed back on to the vehicle.
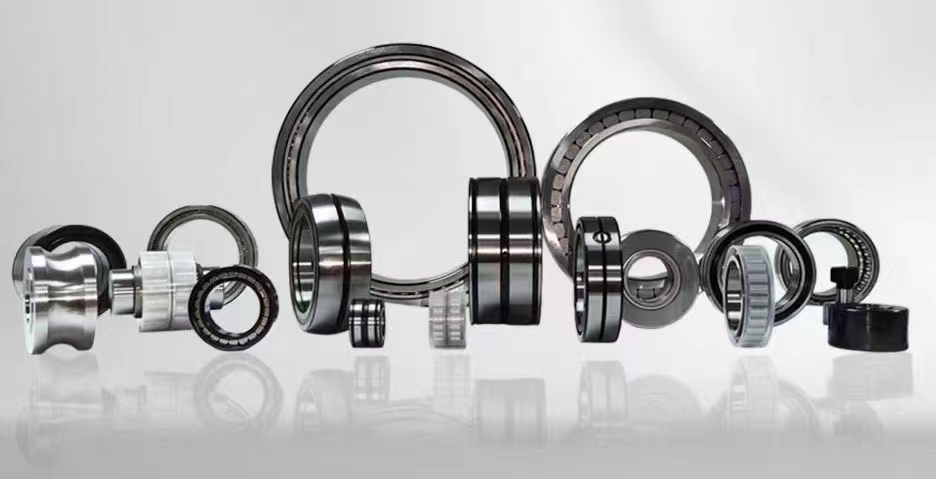
Wheel bearings are sets of steel balls that are housed in metal casings called races, which are located in the wheel’s hub.
If your bearing is housed inside a hub that can be unbolted, simply use your ratchet to unbolt the hub from the spindle and install a new hub.
Pack the new smaller bearing with grease and slide it on to the spindle inside the rotor. Now install the thrust washer and retaining nut onto the spindle.
Learning how to change your wheel bearings can be considered by some to be a bit more involved than your entry level maintenance on your truck or car. However, with these tips, you should be able to accomplish this task successfully and save yourself some money!
The rotor mounts on a hub that contains the pressed-in wheel bearing. Bearing assemblies on front or rear non-driven axles are mounted between a wheel hub and a simple spindle shaft. Some cars have permanently sealed front wheel bearings.
Place the rotor face down on the floor with the back side facing upwards. Take the new larger bearing and rub the bearing grease into the casing.
After gathering the supplies needed, you will need to prepare your vehicle to safely change the wheel bearings. Start by parking your vehicle on a level surface before you begin.
Once you have all of the wheel bearing components removed, it is time for the fun part – the actual installation of your new wheel bearings.


 8613869596835