Pelikan Classic Series P205 Cartridge Fill Review - p205
Having these wrenches have saved me from many headaches. The flex/ratcheting head really help speed up your task and finish that much quicker.
83.3 kgweight
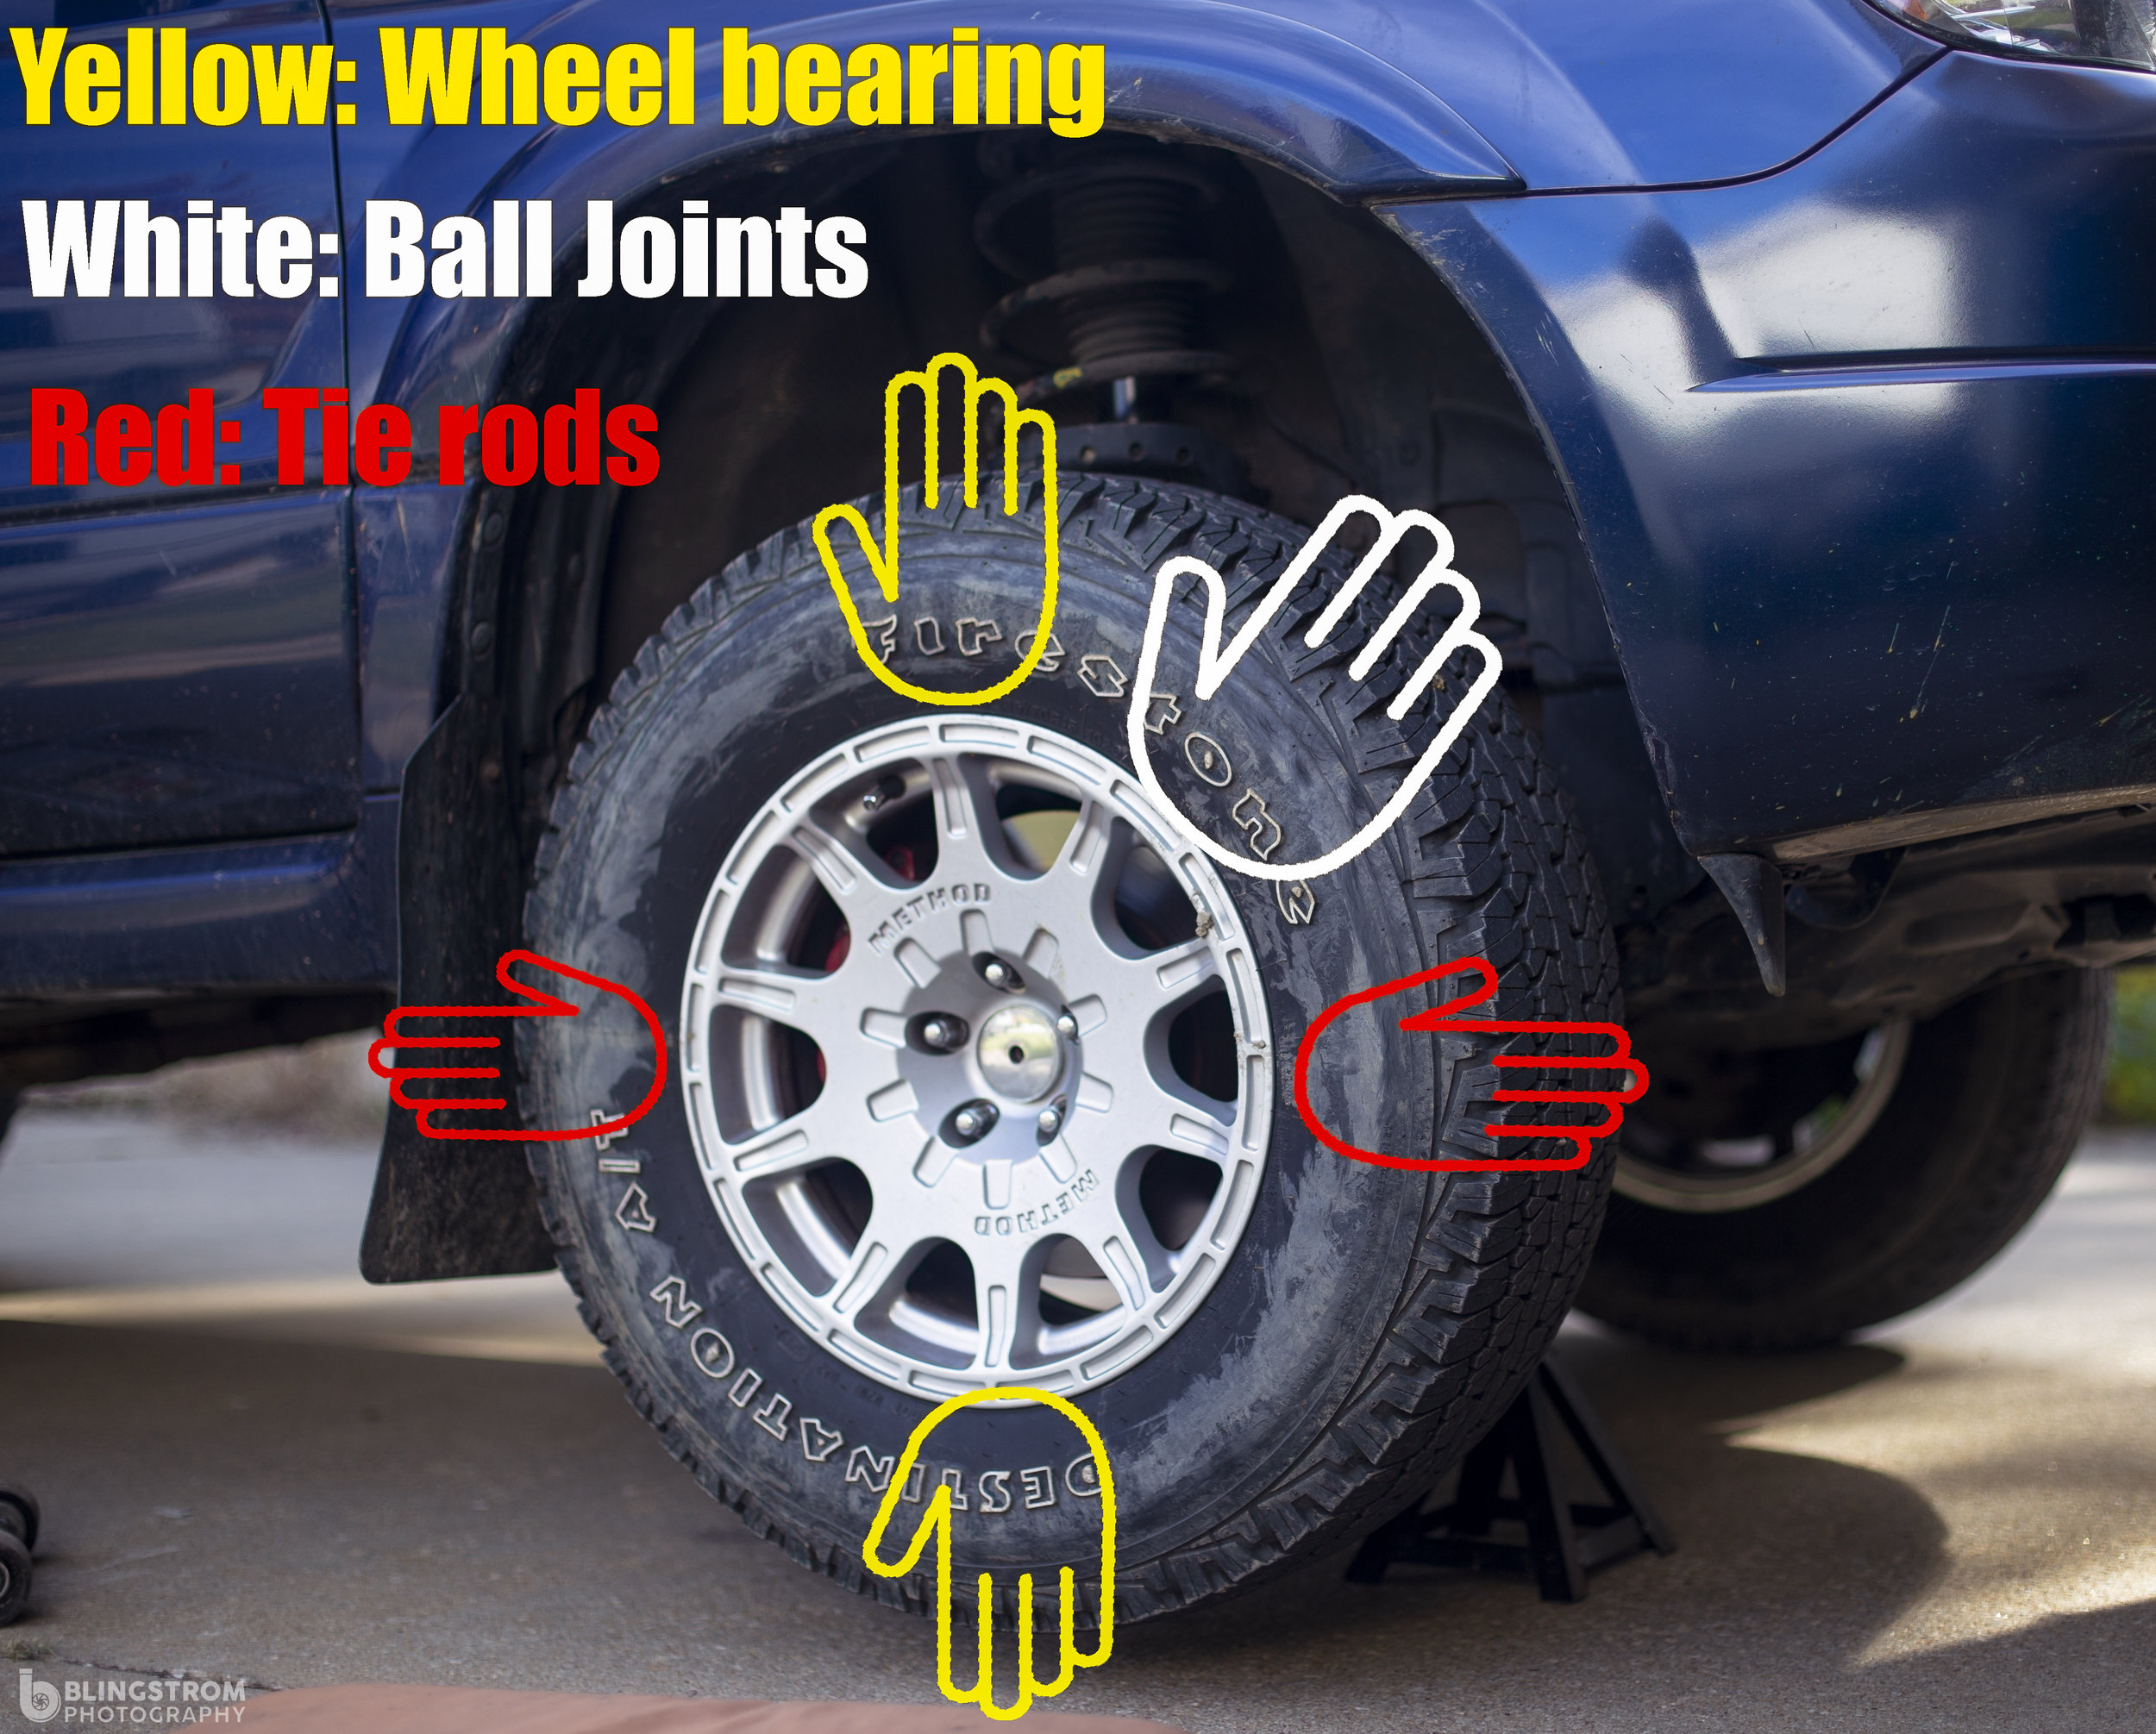
Having all these disconnected all these points of the suspension we are ready to make contact with the wheel bearing bolts. Located on the backside of the knuckle the head of these four bolts will sit. Your 14mm will be the tool to have and you can now start removing them.
83.2kgto lbs
You might be driving one day and think why does my Subaru sound like a supercharger that isn’t able to get to redline… Well you may in fact have a wheel bearing that is failing. Since running the world dry of press in bearings, Subaru decided to change gears and go to a hub style bolt in bearing to make all of our lives just a bit easier.
Polyseal Floor Seal and Undercoat. No reviews. ₱989.00. / per. In stock ... ) Inc. Powered by Shopify. Payment methods. Choosing a selection results in a ...
The St. Louis Public Library has 17 locations across the city and sees more than 2.3 million visitors each year. The Library has more…
83.5kgto lbs
But some of us aren’t that lucky and these hub bearings will put up quite a fight. Once again an air hammer can come to the rescue for those stubborn bearings. Another tool I have used before is shown below. Bolting it to the hub and striking the end of it gives you much more leverage than just hitting the hub. For those old rusty cars this is a worthwhile purchase to keep you from wearing yourself out.
Your next step will either entail undoing the lower ball joint nut to release the lower control arm or remove the lower strut bolts. You can sneak the bearing assembly bolts out with doing removing the suspension parts but you have a good chance of damaging the Cv boot. hat is why I take the precaution to remove the suspension bolts to make the job less stressful.
Next we can remove the brake rotor, which there are two ways to do so. One method is using a rubber mallet to dislodge the rotor from the hub and the second being the use of a bolt threaded into the rotor face. Using the proper sized and threaded bolt will make this an easy job. Having the rotor removed we can see the hub and where the bolts thread through.
83.3 kgto lbs
Installation time will be around an hour for those with quick hands, the proper tools and a bit of luck. For many others this can be a hour plus job, how well the bolts and parts will separate or stay seized together which can take many hours with the combination of luck and rust.
Nov 23, 2023 — I just did some work on a 2014 Chevy equinox I did both front wheel bearings and I wasn't able to torque the axle to.
Grey Pneumatic 3/8th socket set: These will start off the list. You will need your 12, 14, 17 and 19mm sockets will help get this job going.
Image for Thrust Ball Bearing. Add to Compare. Thrust Ball Bearing. Part #: 51116. Catalog #: 51116. UOM: EA. List Price: $752.13. Where ...

Completing that will allow you start putting the everything back together. As with most installs we will start working backwards. Let’s run through them real quick here, start with the bearing and the four bolts, slide the cv axle through and to next the strut bolts or lower control arm. Reattach the abs and brake lines if they were removed, on to the brake rotor and caliper bolts. Now you can torque the cv axle nut down and install your wheel.
As stated above removing the lower strut bolts is my tried and true method. Marking the camber bolt for reassembly is very helpful and can save you the need of an alignment. Then start with the Abs clip/bolt and on to the brake line bolt. Lastly you will remove the lower strut bolts, be aware that when the last bolt comes free the hub may swing outward, so be prepared.
Many things can take out a bearing like water intrusion, loss of lubricant, an impact shifting the races, or just wear and tear over time. If you start hearing a low roar or hum coming from a wheel, you may in fact have a bearing going bad or a bad tire. The faster you go the louder the hum/roar will become, highway speeds making it quite audible over any other noises.
All DIYS and installs should be performed by trained individuals. Understand your skill level and always take the proper safety precautions when working on a vehicle. I can assume no liability for damages to you or your vehicle via these guides. There is only one of you and you are very important to many people, keep this in mind!
The lower control arm attaches by one nut through the ball joint and knuckle, otherwise you can remove the pinch bolt and hope for the ball joint to slide out. I personally use the lower strut mount bolts, as they are much easier to remove. But with this comes the fact that you are removing the upper camber adjusting bolt, which will likely through your alignment out. But like most suspension installs you should always have your alignment checked post install.
Hammer(s). It’s hammer time, hub bearings usually don’t just fall out, this will give it the persuasion that is necessary. Proto antivibe hammer is my choice hammer. If you don’t have a bolt to use to remove the rotor from the hub, your next best bet is a deadblow hammer. Atd deadblow hammer set.
Some wheels bearings will have enough play that following these directions will expose the failure. I.e. a loose wheel bearing with have a measurably amount of play when pushed up and down. Some may never exhibit this issue and will just be noisy at high speeds.
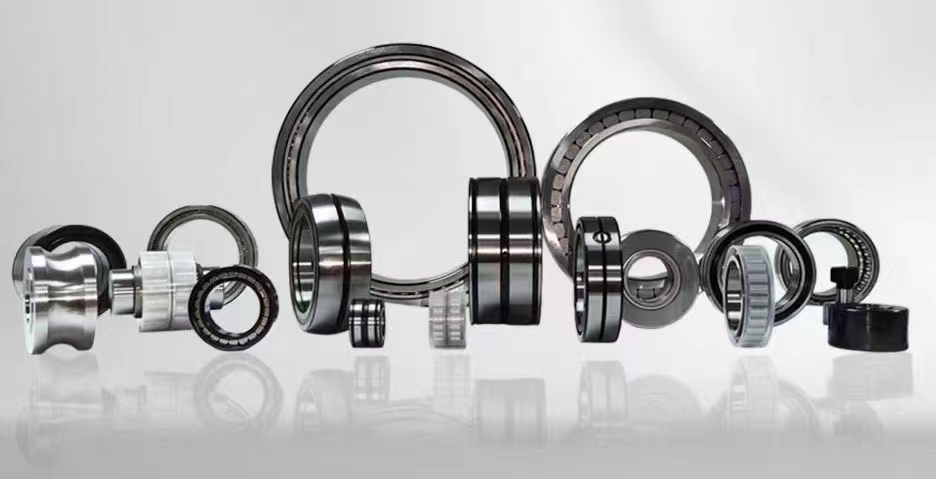
Congratz! You have completed your wheel bearing and can now rejoice and enjoy the quietness that has returned to your car. While these aren’t the most fun to do at least it isn’t a press in style bearing, those are a bit more tedious and need extensive tools.
83 kgto lbs
We will start our journey by lifting the vehicle and supporting it properly. Next the wheel will need to come off on the lucky participant. Having removed the lugnuts we can place the wheel out of the way.
Donations accepted here! If I have helped you feel free to give. Any amount is helpful and will be put towards new mods!
Having exposed the brake caliper we can remove the two 17mm bolts that hold the caliper bracket to the knuckle. Using a bungie cord or wire hanger you should place it in a nice safe area free of your working area of the knuckle.
Either method will now allow the pull the suspension outward and allow the CV axle to be removed from the hub. That is as long as your axle decided to easily pop out of the hub, if not this is a good time for an air hammer to make it’s presence known.
High precision, custom grease fill, cartridge bearing units for servicing e*thirteen hubs. Need help figuring out what size your hub requires?

80.3kgto lbs
Gearwrench 3/8ths ratchet Milwaukee 3/8ths electric ratchet Milwaukee 3/8ths impact gun Grey pnuematic wobble socket set A few of my favorites right here.
Subaru front wheel bearing for 2015-2020 Outbacks, Legacys, and Ascents. 28373XC00A This is the part being installed within this DIY. Moog version
Starting off with the 32mm axle nut we can power that off with an impact. If you don’t have an impact you can have a helper on the brake pedal and using a large breakover bar you should be able to remove it. You can utilize your punch and hammer now test whether the axle is rusted into the hub. If it slides in you can move on and if it remains stuck in it’s place, now is the time to liberally spray it with you favorite rust penetrating oil.
The ultimate laser shaft alignment tool ROTALIGN touch offers best measurement precision and most advanced features to save you time and costs.
Double check all nuts and bolts and if they are correct you can now let the vehicle down and take the vehicle for a short slow drive. Listening for noises and making sure everything is in working shape.
SKU JEFDBSDSP08.0-260 · Size 8.0mm, 260-200mm · Gross Weight 0.09 kgs.
Those two holes on the rotor are threaded for ease of removal. With a bolt threaded into them you can screw them in and it pushes the rotor right off.
Therefore, high-temperature bearings require the use of specially formulated lubricants to withstand elevated temperatures. We can design bearings based on your ...
83.3kg in stone
We stock Australia's largest range of automotive seals from world-leading suppliers such as NOK, SKF, STEMCO, NAK, National Seals, KOK, GSP and Corteco. Our ...
Once the bearing assembly is removed, we can take a small piece of sanding block and clean the mounting surface. Add a bit of anti-seize to these areas to keep it from seizing up in case you need to redo this job down the road.
6203-Z Deep groove ball bearing with seals or shields ... Single row deep groove ball bearings with seals or shields are particularly versatile, have low friction ...
83.3 kgto stones and pounds
As an Amazon Associate, I earn from qualifying purchases, which help fund the website and further mods. Thank you for your support! You can also donate by using the link below!
How can you tell whether you have a hub bearing assembly or a press in bearing style? You can check your local parts store, website or Subaru parts catalog. Most 08+ Subaru vehicles moved to bolt in style bearings and a few before that. You will find front bolt in bearings on a 2005 STi but the rears are still press in. A 2005 Impreza, Wrx and Forester will all have press in bearings on both ends but a Legacy/Outback will have bolt in front and rear bearings, so just check your specific model and get the right parts!
You may think that removing these four bolts has completed your task, but alas for most of us it hasn’t. While it is possible for your bearing assembly to fall right out on the floor it is unlikely. Now is the time to bring your favorite hammer out and show Mc Hammer they true meaning of hammer time. I generally use a downward striking force on the top of the hub, this along with gravity has worked well for myself.


 8613869596835